Fill Your No Trespassing Letter Template
Fill Your No Trespassing Letter Template
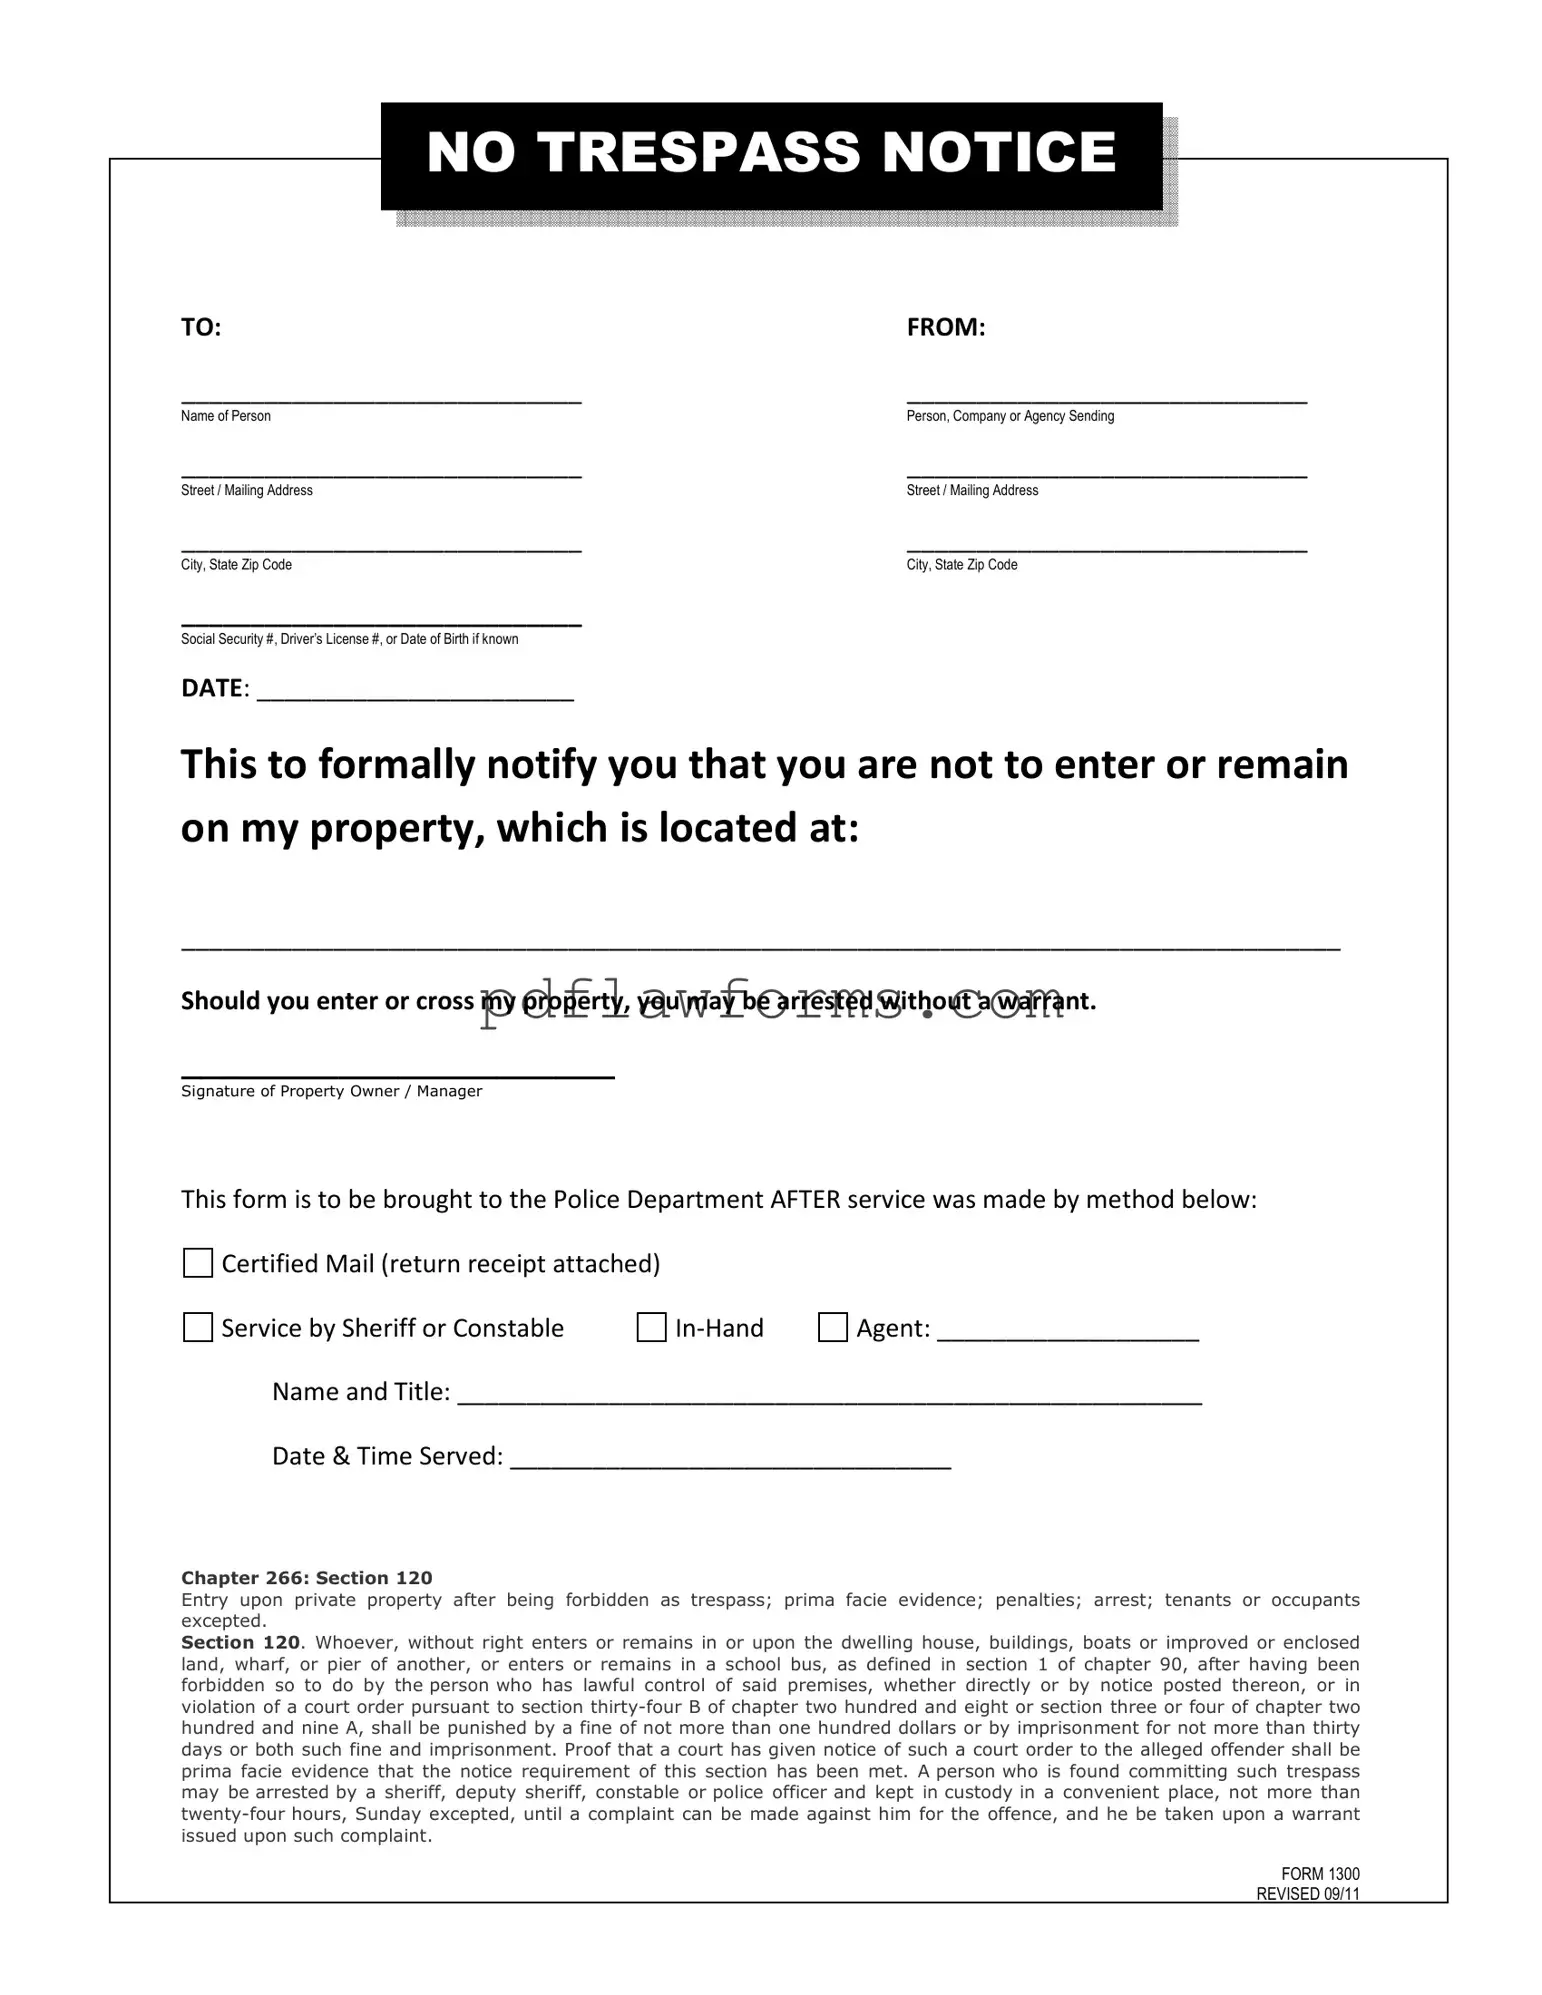
When it comes to protecting your property rights, a No Trespassing Letter serves as a crucial tool. This formal document notifies individuals that they are prohibited from entering or remaining on your property. The letter includes essential details such as the names of both the sender and the recipient, the specific address of the property in question, and the date of issuance. By clearly stating that unauthorized entry may result in arrest without a warrant, the letter establishes a strong legal foundation for your property boundaries. Additionally, it outlines the methods by which the letter can be served, including certified mail, sheriff or constable service, or in-hand delivery. Documenting the service details is important, as it provides proof that the trespasser has been formally notified. Understanding how to properly complete and deliver this letter can significantly enhance your ability to enforce your property rights and deter unwanted visitors.
When it comes to the No Trespassing Letter form, several misconceptions can lead to confusion. Here are ten common misunderstandings:
Understanding these misconceptions can help individuals navigate property rights more effectively and ensure proper use of the No Trespassing Letter form.
When filling out a No Trespassing Letter form, individuals often overlook essential details that can undermine the document's effectiveness. One common mistake is failing to provide accurate property information. The section where the property address is specified must be filled out completely and correctly. If the address is incorrect or incomplete, it may lead to confusion about which property is off-limits, potentially rendering the notice ineffective.
Another frequent error is neglecting to include the date. The date serves as a crucial reference point for when the notice is effective. Without it, there may be disputes about whether the trespassing notice was valid at the time of an incident. It is essential to ensure that the date is clearly written and easy to read, as this can significantly impact the enforcement of the notice.
Additionally, individuals often forget to specify the method of service. The form outlines several options, such as Certified Mail or service by Sheriff or Constable. Skipping this step can lead to complications if the need arises to prove that the trespassing notice was properly served. It is vital to choose a method and document it accurately to establish a clear chain of communication.
Lastly, failing to sign the form is a mistake that can invalidate the notice. A signature indicates that the sender has authorized the communication and is serious about enforcing the terms outlined within the letter. Without a signature, the notice may be perceived as unofficial or lacking authority, which could weaken its intended impact. Ensuring that the form is signed and dated is a simple yet crucial step in making the No Trespassing Letter enforceable.
Completing a No Trespassing Letter is an important step in protecting your property rights. After filling out the form, you will need to ensure that it is properly served to the individual in question. This will help establish clear boundaries and inform the person that they are not allowed on your property.
Once you have completed these steps, you will be ready to serve the letter. Remember to keep a copy for your records. This documentation may be important if further action is required.
Free Facial Consent Form Template - Feel free to take your time reviewing the information provided.
The Florida Motor Vehicle Power of Attorney form serves as an essential legal tool, empowering individuals to delegate the responsibility of handling motor vehicle transactions to a trusted representative. With this document, owners can ensure that their interests are protected in dealings such as selling, buying, or managing vehicle registrations, even when they are unavailable. For further details on this crucial form, visit floridaformspdf.com/printable-motor-vehicle-power-of-attorney-form/.
Citizens Roof Certification Form - Clarifies the building type such as single-family or multi-family.